 |
Through AFO 216 you can add multiple titles to one order. Proceed as follows:
1. Search for an existing order or create a new one
2. Add titles to the order
3. Close the order by setting dispatch to Yes and print the order
Choose AFO 216, the system will display a search screen. You can search for an existing multi-title order or create a new one by clicking on ‘New record’.
After clicking on ‘New record’ the system prompts you for order type. Depending on settings in AFO 272 – Miscellaneous, this input form may also contain the fields Order no., Tax code, Export category. See the Help for AFO 272 for more information. The system automatically assigns an internal order number to each order. The format of this order number is determined through AFO 272 – ‘Order number format’. See the description of this AFO for more details.
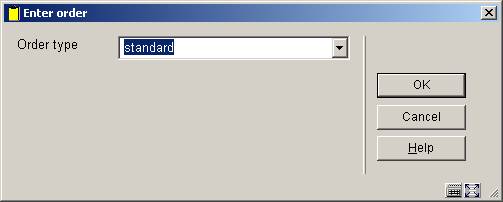
Depending on settings in AFO 272 – Miscellaneous, this input form may also contain the field Order no.. See the Help for AFO 272 for more information. It is possible to enter order numbers manually. A manually entered order number must be unique within the meta institution.

After clicking ‘OK’ you can link a supplier. Next the multi-title order screen is shown:
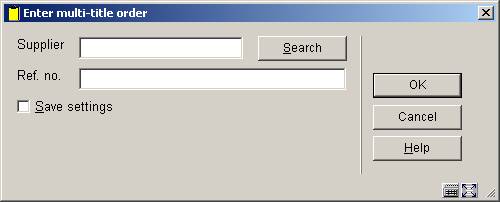
The discount percentage is taken from the supplier record as a default value. After clicking ‘’ you will be offered the order header:


The order header consists of order type, supplier information, total commitment (sum of the commitments for the linked titles), number of order lines; default discount and tax percentages; internal notes and supplier notes.
The statuses as shown in lines 7 through 12 are applied as with the detail lines of an order.
By changing the supplier on this screen you also change the supplier for the linked order lines.
The discount and tax percentages defined on this screen are the defaults for each new ordered title.
. Click this icon to print all the order lines. You can no longer add titles after the order has been printed.
. Click this icon to show the current titles linked to this order or to add more titles to this order. The detail screen is shown:

This screen shows static information and a grid. The static information is protected and contains order number, order type, status, supplier and number of order lines. The grid contains the order line details and shows line number, brief bibliographic details, quantity ordered, received, invoiced, paid, average unit price, status and supplier notes.
. Click this icon to show additional information.
Select a line and click this icon to show the details of that particular order (or double click on the order line). The details screen is shown where you can amend data.
. Use this icon to add another title to the order. The system will display the standard search screen. From this screen you can either search for an existing bibliographic record in the normal way or click the ‘New record’ button to add a new bibliographic record.
To order an existing title perform a normal bibliographic search and select a record. Double click on the filed ‘Order(s)’ to add a partial order for this title. If there are existing orders the overview screen with orders for this title will be displayed (you do not have the option to look at or amend detail lines from this screen). You can add a partial order for this title in the normal way. When you have finished this, the order overview screen will be displayed.
When clicking on the ‘Back’ button from this screen you are taken back to the search screen “Search for a title to add to current order”. From here you can search for another title to order or you can click on the ‘Cancel’ button which will take you back to the “Order detail multi summary” screen. You can decide at any moment to stop and continue at a later time. Order lines can be added to an unsent order by searching for the order header and then choosing to add more titles.
To complete the order en ensure it will be printed you must set the dispatch status on the order header screen to Yes. This ensures that the status for all associated orders will be set to Yes. The order can then be printed in the normal way via AFO’s 251, 252 and 253, just like for orders created via AFO 211.
You cannot add new titles to a completed order.
· Document control - Change History
|
Version |
Date |
Change description |
Author |
|
1.0 |
unknown |
creation |
|
|
2.0 |
November 2006 |
updates for release 2.4.2 build 1 |
|
|
3.0 |
March 2007 |
minor modifications |
|